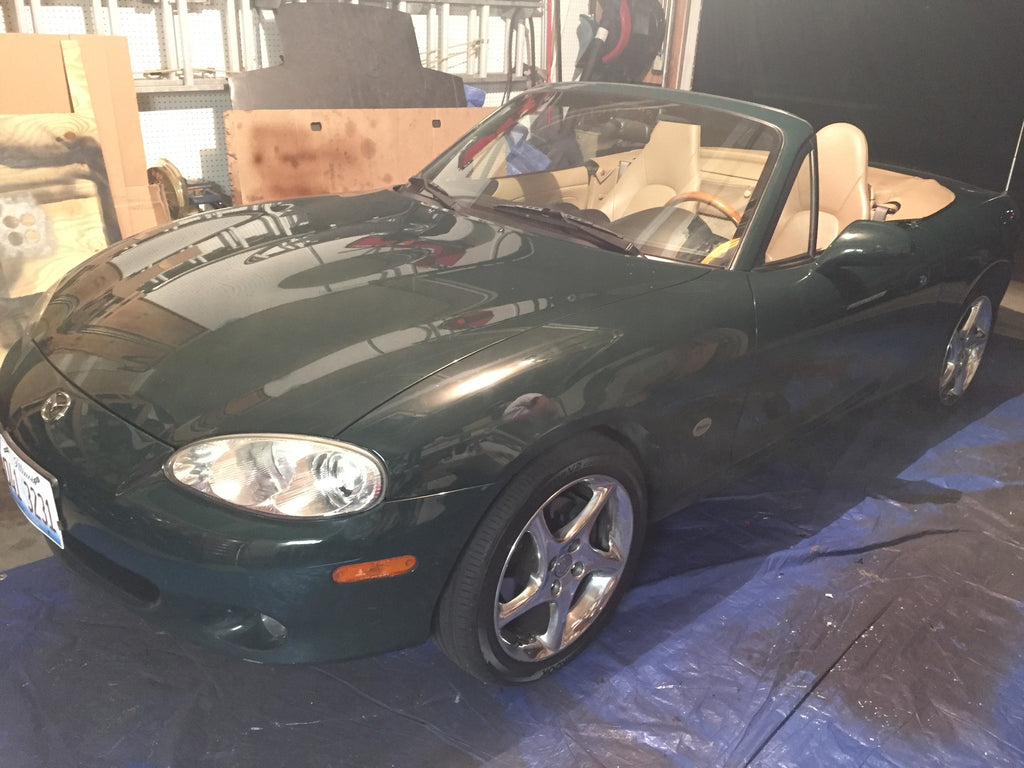
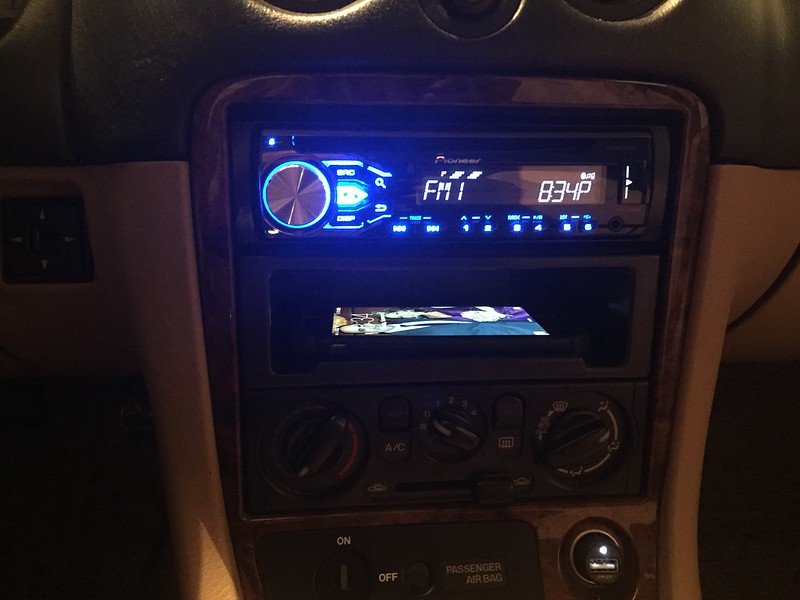
Quick overview of how I Bosectomy-ed my dad's 2001 BRG. In short, the radio is being replaced with a Pioneer DEH-X4800BT and new speaker wire run to a pair of Lanzar VX830 8" 3-way coax speakers. I won't cover every step of the way like removing the door/interior panels, there are plenty of write-ups floating around and it's super easy to do!
For this install the only "specialty" tool you will need are Ford radio removal keys. Cheap everywhere, I think I have even seen them at Walmart. If you're in the Chicagoland area, you're welcome to use mine :-).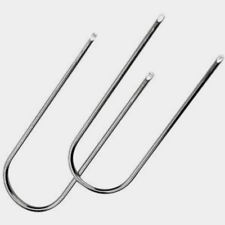
Remove these plastic covers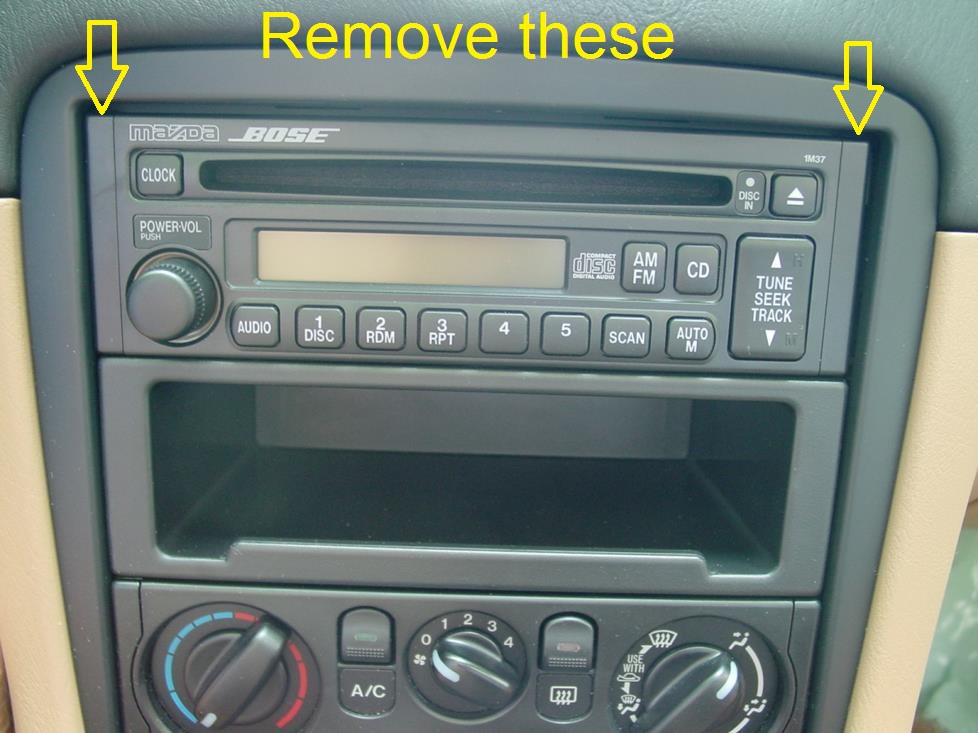
Insert the radio keys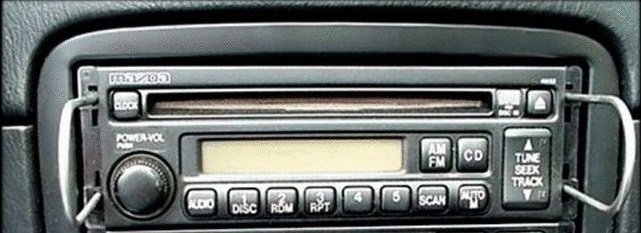
This is what the side of the radio looks like. When you insert the keys, don't just jam them in there. When you put the key in, you will feel some resistance and then you will feel it "slide" into place. If you don't, pull the key back a little and then move it forward again at a different angle. Usually they slide right in but some times it takes some fiddling. If you jam the metal tangs outwards too far, you're going to have a REAL hard time getting them back in place to get the radio out. Use patience here.
This is what you will be left with.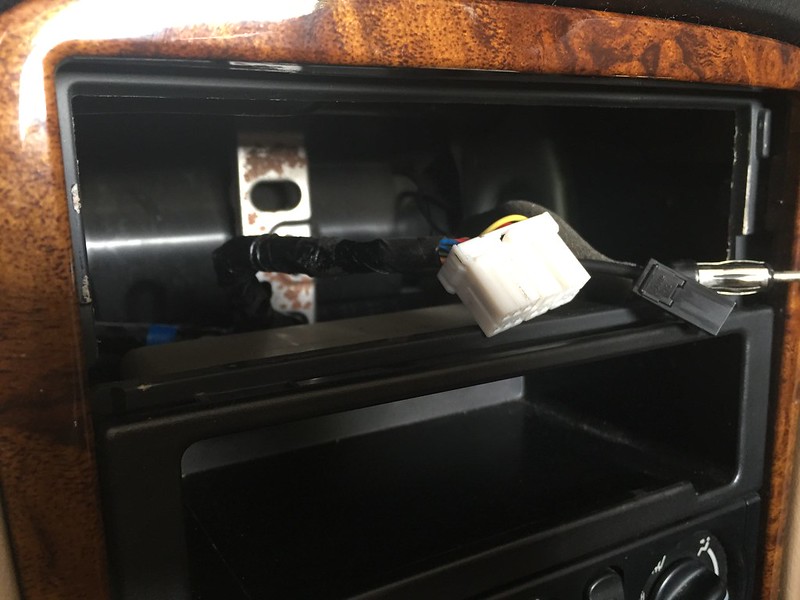
The wire harness that you will need is Metra 70-7901. Other manufactures make this harness as well like Scosche, American International, etc. Only the harness on the right will be used because the only connections that need to be made between it and your stereo harness are:
Yellow: Constant 12v
Red: Switched/ignition 12v
Blue: Power antenna
Reason being is the new speaker wire that will be run gets connected directly to the speaker leads coming off the radio.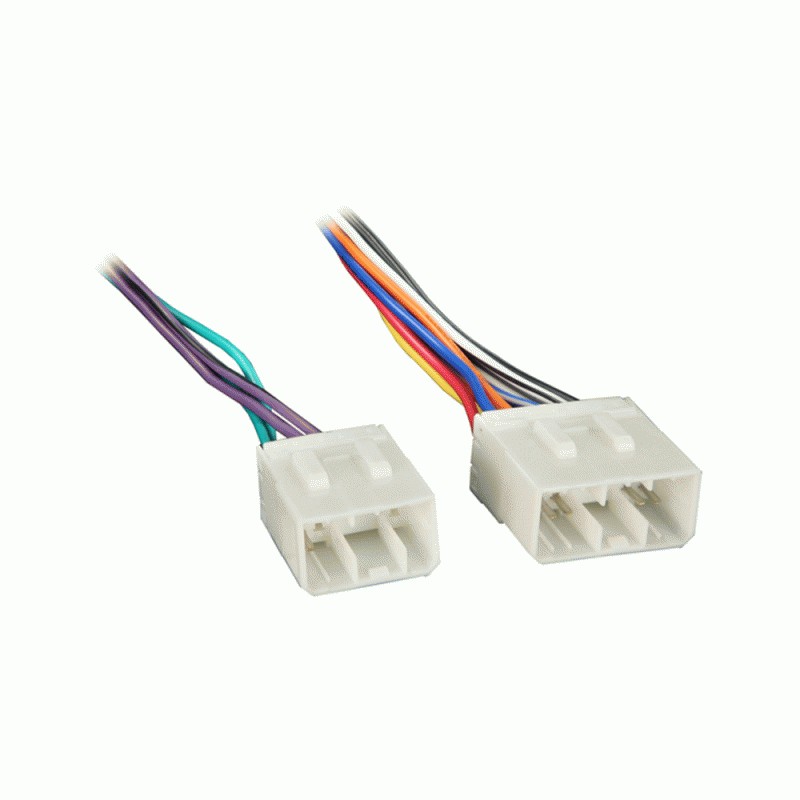
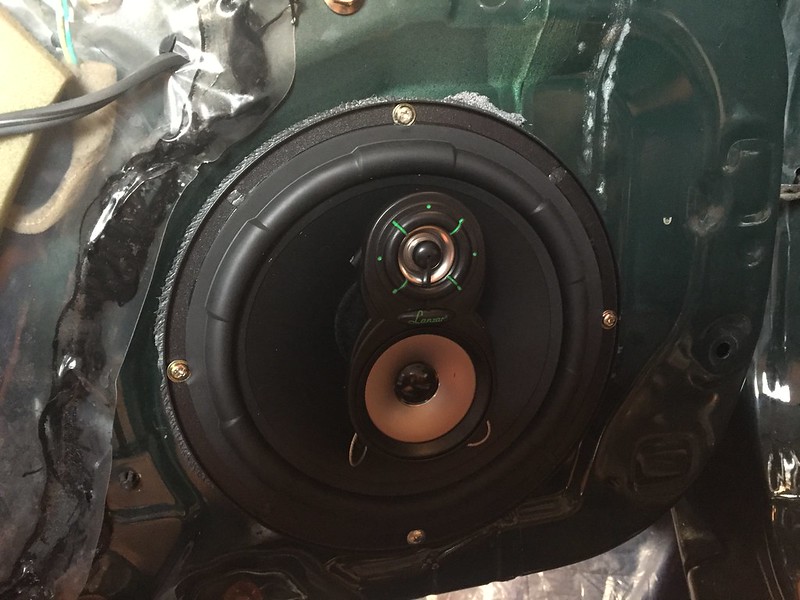
Now, remove the door panels and take the speaker out.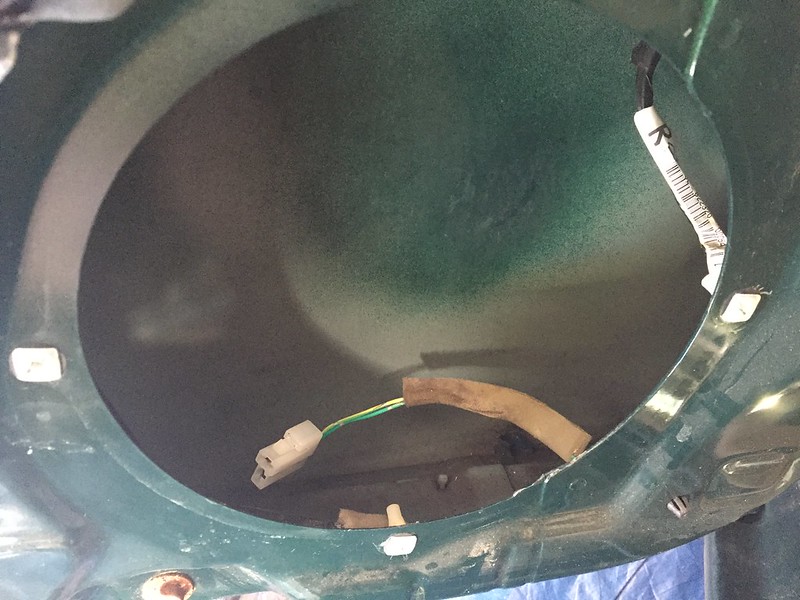
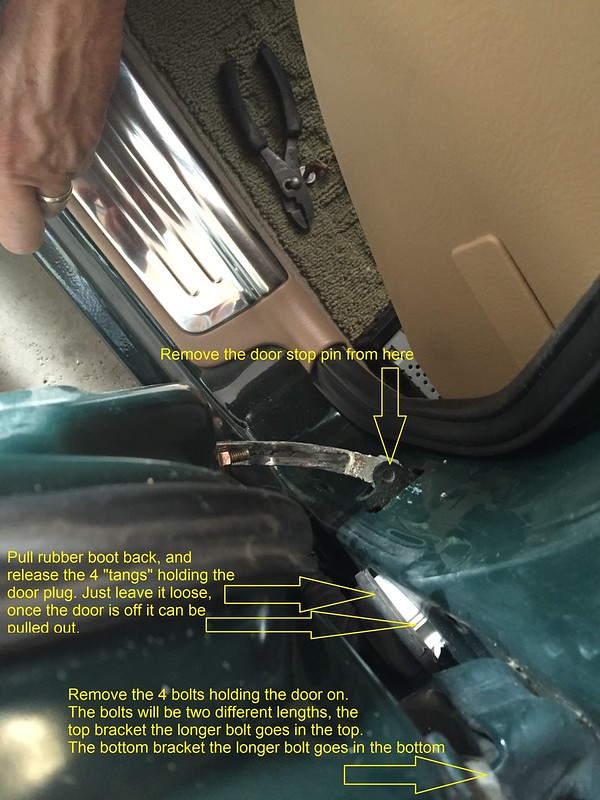
Now comes the scary part for some..........remove the door! It's really not that bad, but you will need an extra set of hands. Loosen the door plug, remove the door stop pin, and the 4 bolts holding the door on.(Take out the top bolt last) In all reality, you can have the door off in 5-10min.(Don't be scared!)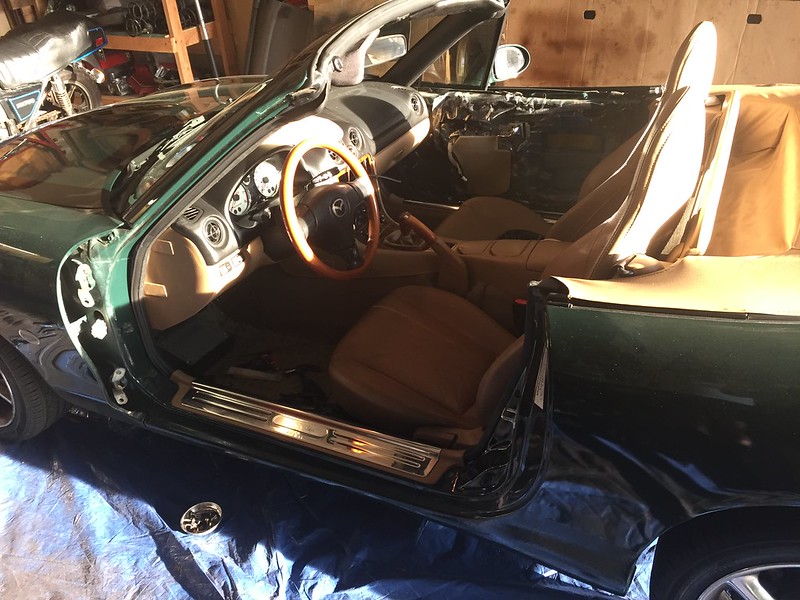
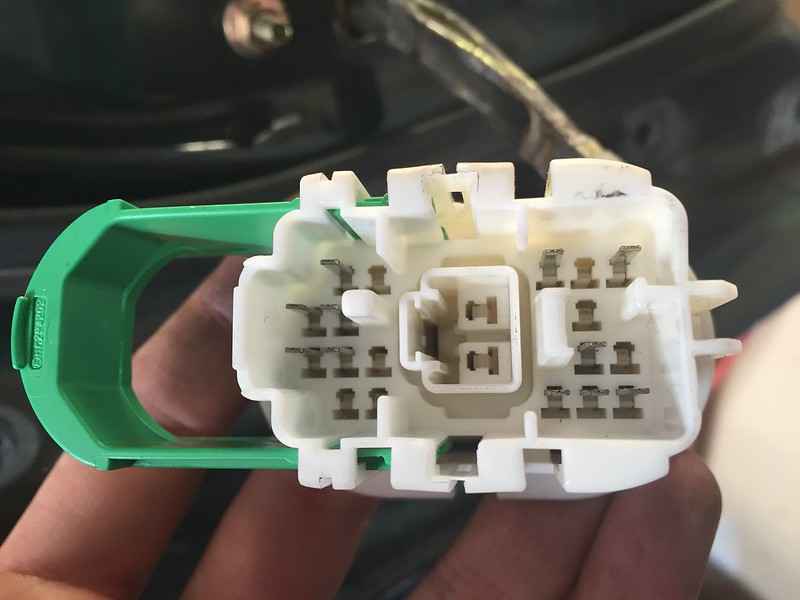
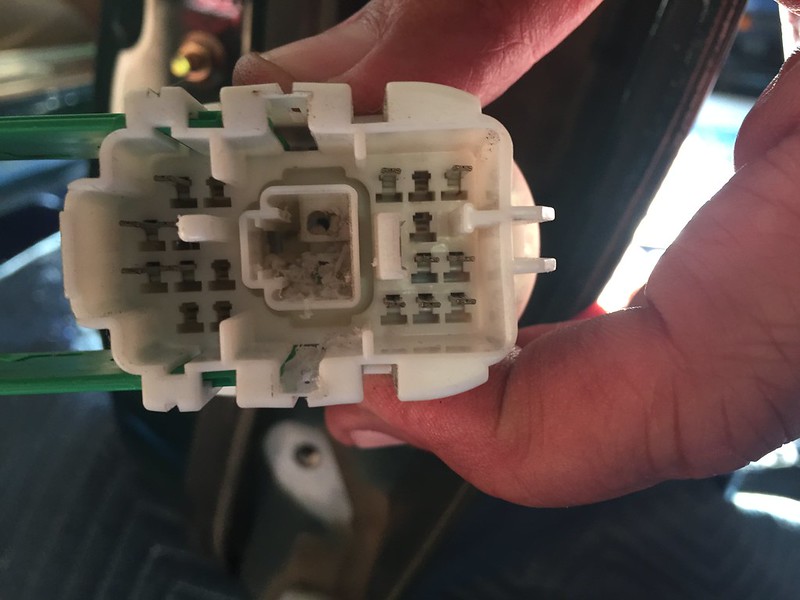
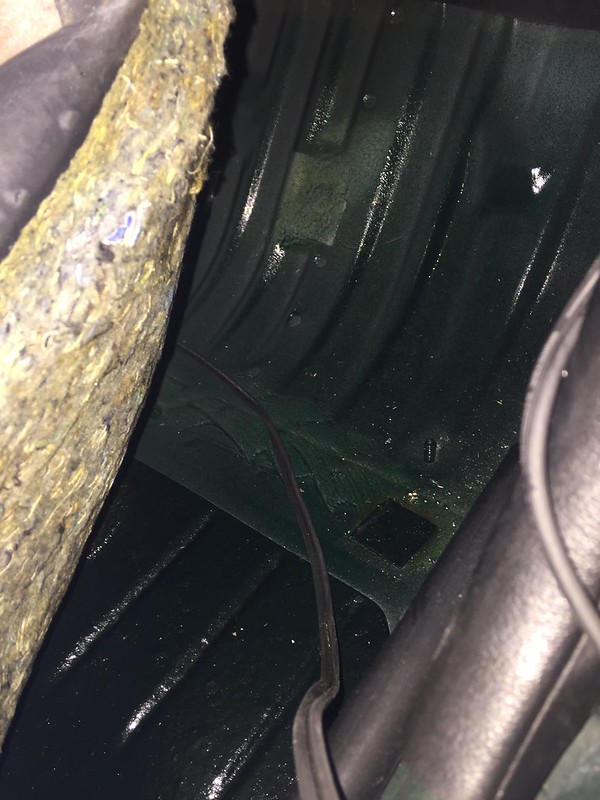
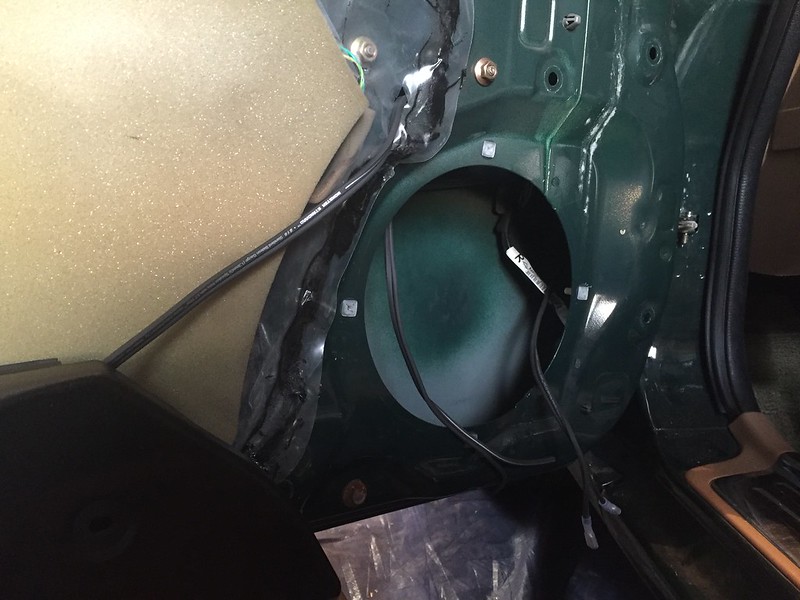
Now that the door is off(note the door plug and how the green clip pops up to remove it.) a hole needs to be drilled into the door plug to allow speaker wire to pass through from the cabin into the door. I used two drill bits to step the hole size up to make sure I didn’t damage the plug or remove too much material. I started with a 1/8 bit and then moved to a 15/64.

Now that the hole is made, run your speaker wire from the door, through the plug(The car side already has a hole, one does not need to be drilled) into the cabin and up to the radio area. Then bolt your door back up.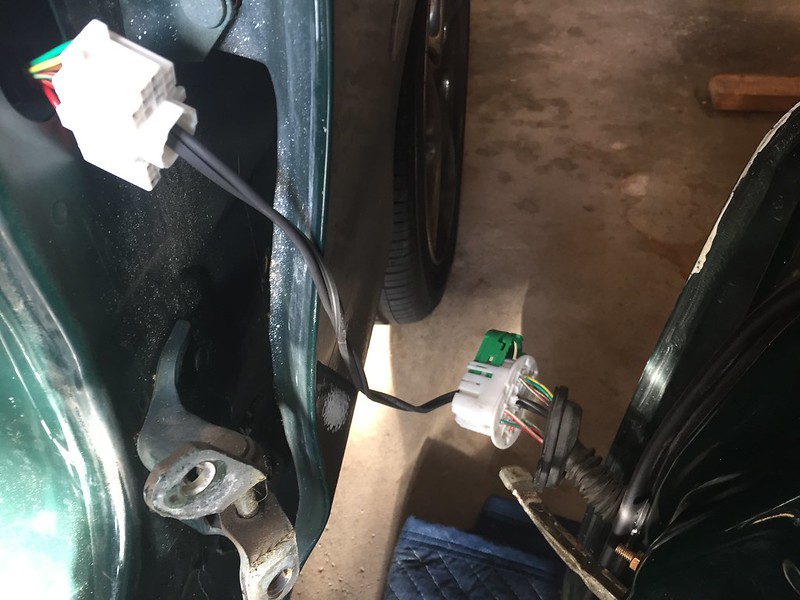

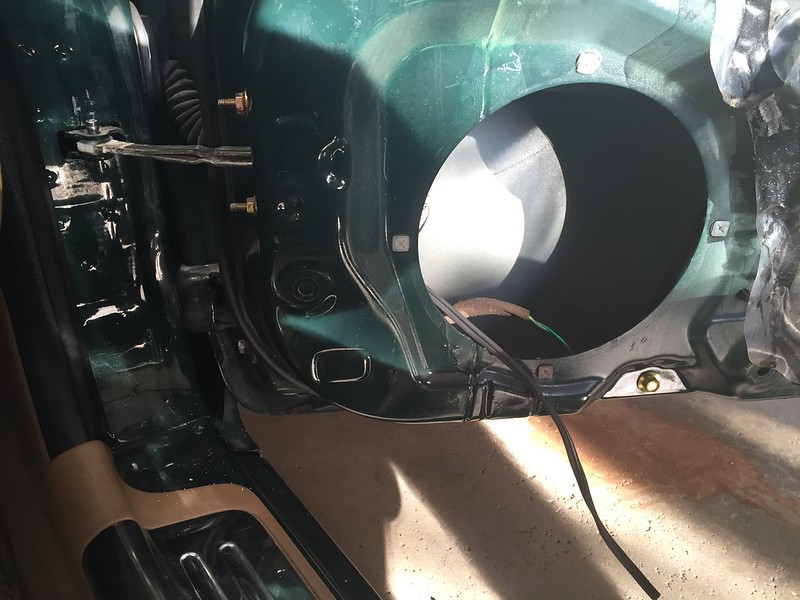
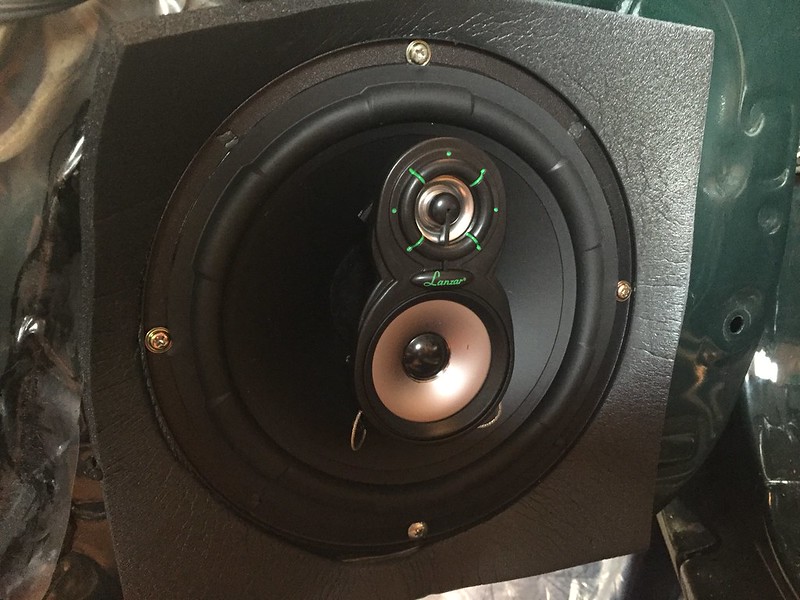
Now it’s time for the speakers to go in. I used female terminals on all speaker wires to make easy connections to the speakers.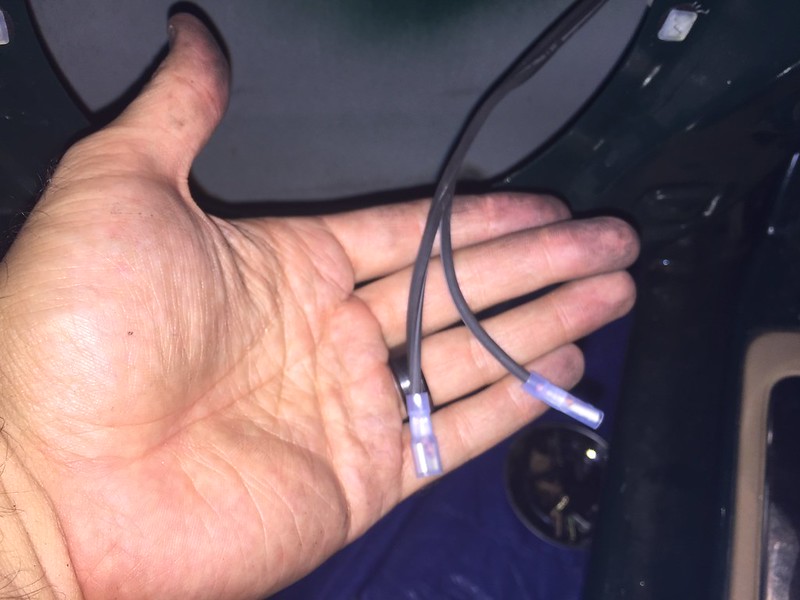
Next comes the 8” XTC foam baffles. I typically like to make a larger opening that just a small hole for the speaker wire. I’ve found that giving this little extra “port hole” allows for a little extra air movement and allows the speaker to sound a little “fuller” on the low end. 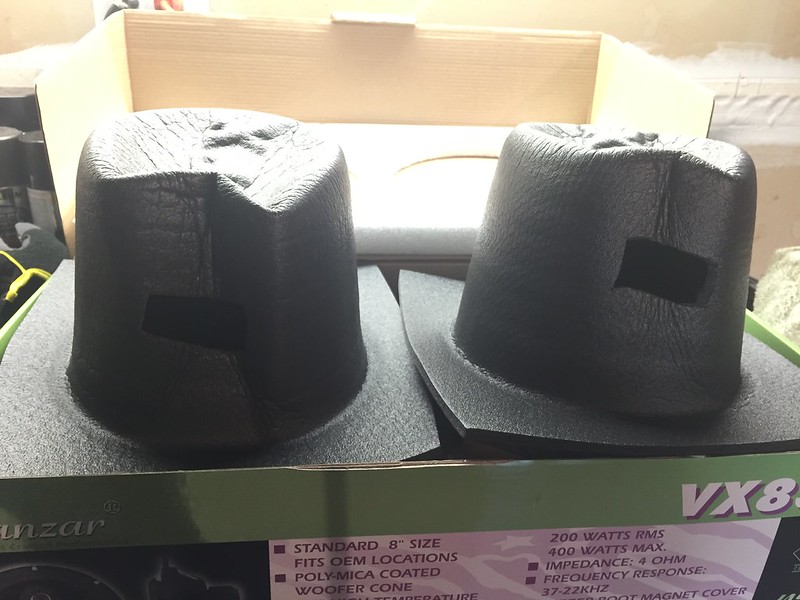
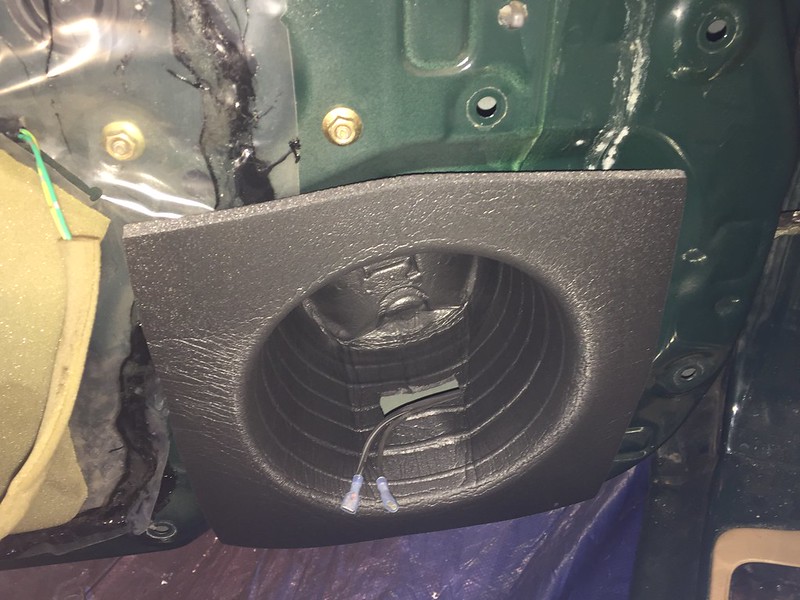
For the tweeter connection I used Red as positive and Green as negative, then ran the wire down to the speaker opening in the door. There is a small hole in the door that is near the top of the speaker behind the moisture barrier where you can sneak the wire into the door to get it behind the speaker.(I prefer solder+tape/heat shrink, but to be honest if you don’t have it it’s not a deal breaker. Just make sure you thoroughly seal your connection)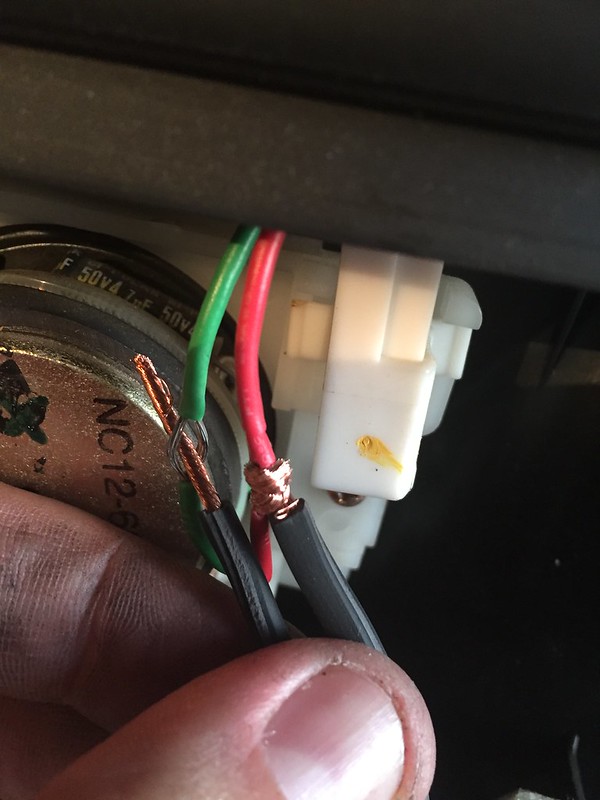

Next step is make your connections at the speaker, install using the factory screws & locations, and trim the foam baffle. Once complete, reinstall your door panel.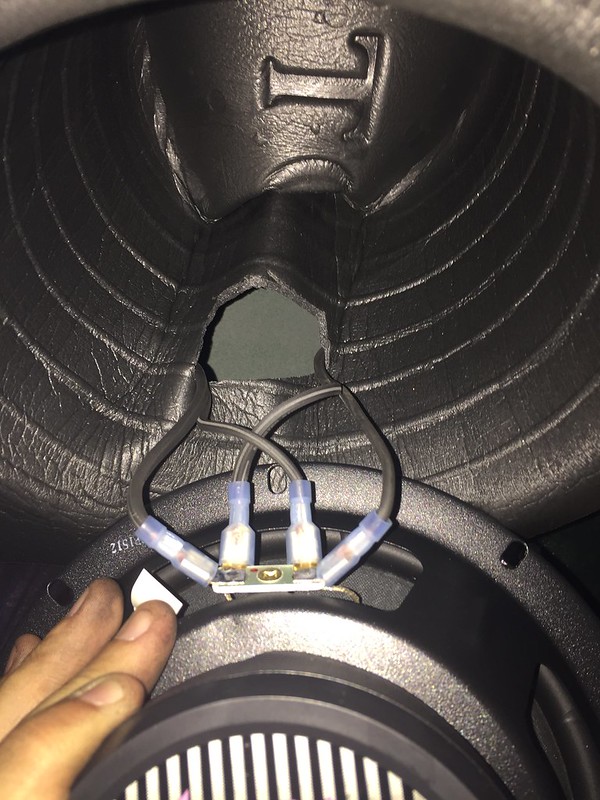
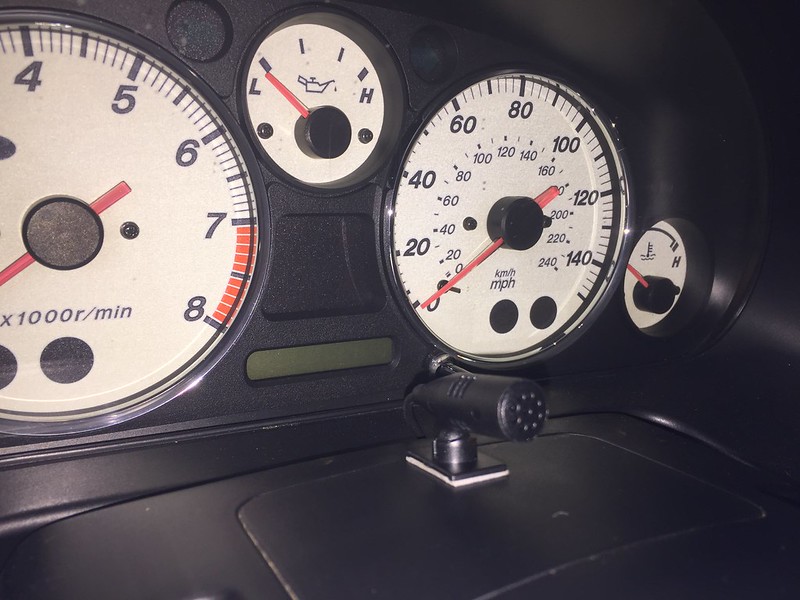
I mounted the Bluetooth microphone on top of the steering column right in front of the odometer. It’s pretty small and doesn’t really block it all that much.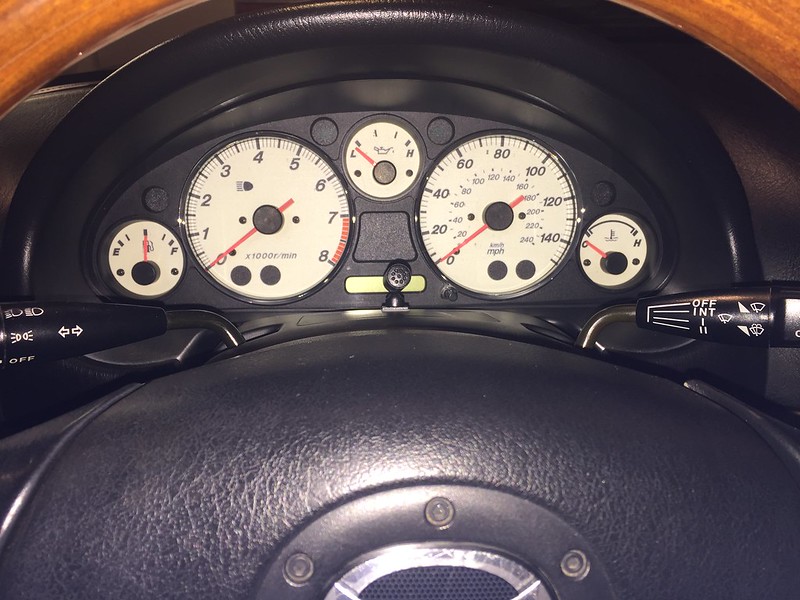

Stereo/dash connections. (Unfortunately I forgot to take pics so enjoy the crude drawing!) Essentially the Metra wire harness purchased is only used for power connections and the power antenna. The speaker wires that were run from the doors up to behind the radio will be connected DIRECTLY to the stereo harness coming off the back of the aftermarket radio that is going in the car.(In this case Pioneer)
These are the connections that I made behind the stereo
Pioneer Yellow ----------> Metra Yellow
Pioneer Red ----------> Metra Red
Pioneer Blue/White ----------> Metra Blue
Pioneer White(Pink in diagram) ----------> Positive speaker wire running to the driver side speaker
Pioneer White/Black(Pink in diagram) ----------> Negative speaker wire running to the driver side speaker
Pioneer Gray ----------> Positive speaker wire running to the passenger side speaker
Pioneer Gray/Black ----------> Negative speaker wire running to the passenger side speaker
Pioneer Black ----------> Single black plug next to the OEM radio harness.(See radio removal picture above)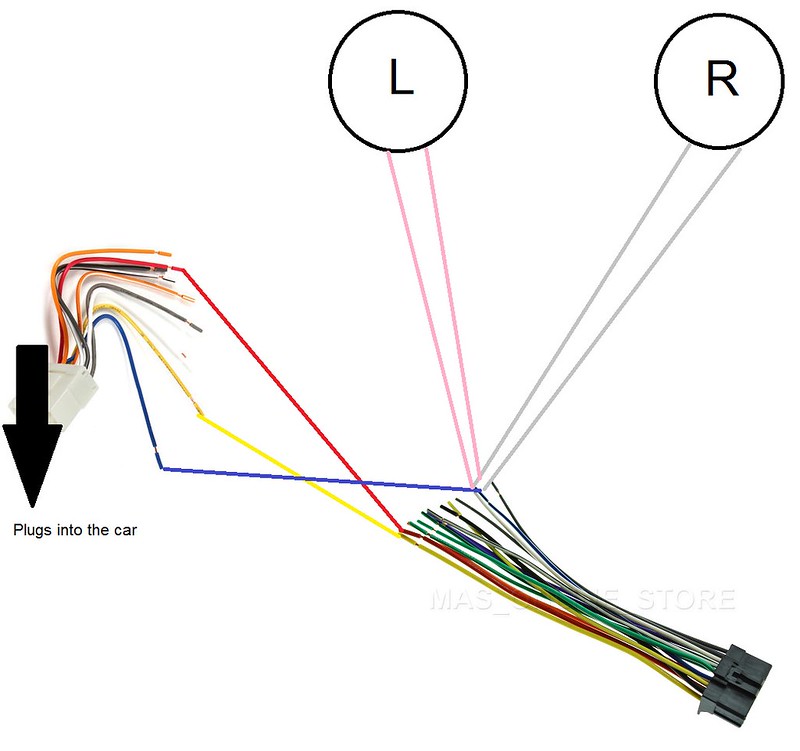
Once you have made your connections, slide in the metal cage/bracket that comes with your stereo, bend the appropriate tabs to lock it in place, plug in all of your connections and you’re ready to jam!(Bluetooth, wire harness, antenna, etc.)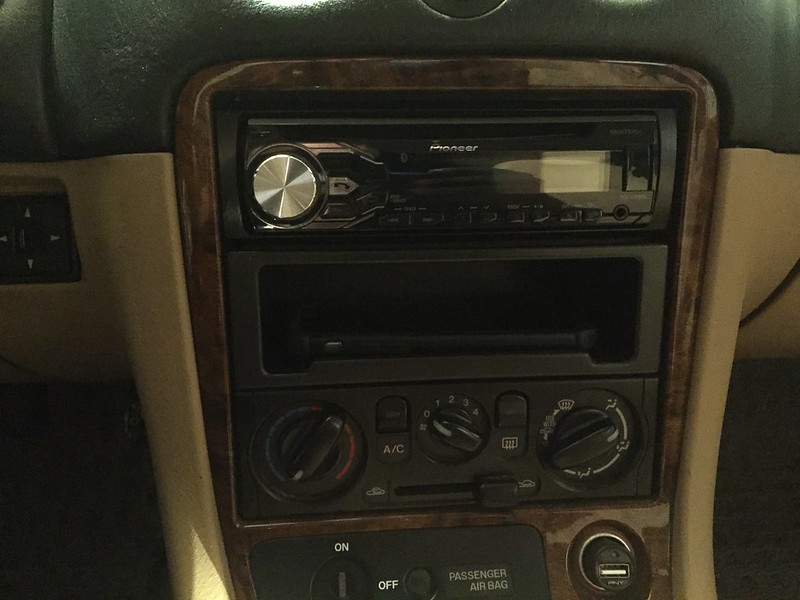

shtmmzxuhr
Muchas gracias. ?Como puedo iniciar sesion?